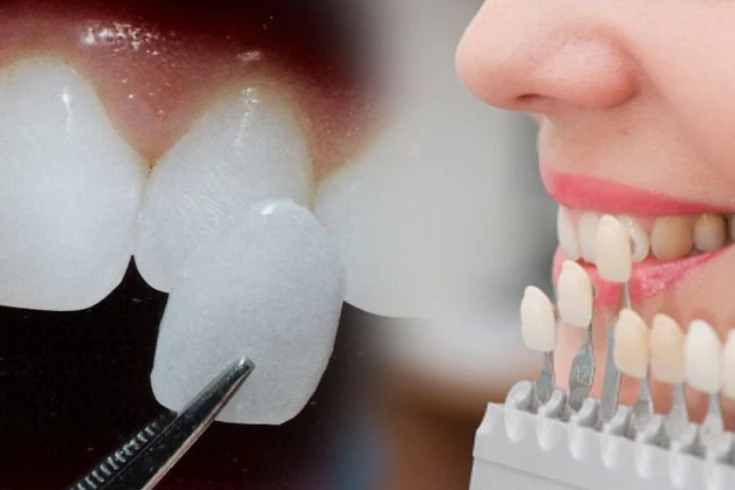
Dental crowns or tooth crowns represent one of the most common restorative procedures that a dentist would carry out today. Whether you are dealing with a damaged, decayed, or misshapen tooth, a crown can restore your smile to full functionality and good looks. But how does a dentist go about preparing a tooth for a crown? In this blog, we are going to elaborate on the steps of tooth preparation for a crown, discuss materials used, what one should expect during the procedure, and how to care for your crown after its placement.
What is a Dental Crown?
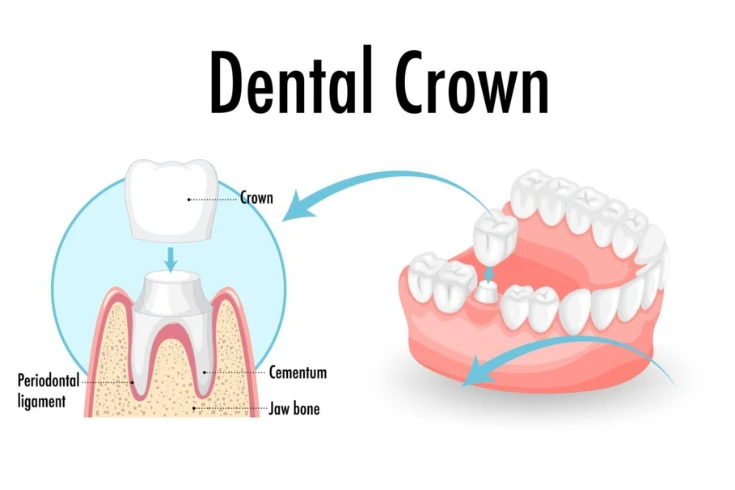
Basically, a dental crown is a tooth-shaped “cap” placed over a tooth for restoration of the tooth’s shape, size, strength, and improvement of its appearance. Crowns can be made of porcelain, metal, resin, and ceramic. They are often used in such instances when a tooth is severely damaged, decayed, or after a root canal treatment.
Why Might You Need a Crown?
Before understanding how a tooth is prepared for a crown, it’s very important to understand why you might need one in the first place. Crowns are usually recommended for the following purposes:
- Protecting a weakened tooth – A tooth weakened by decay or a large filling could be more vulnerable to fractures. A crown can provide additional protection.
- Restoration of a fractured or worn-out tooth: A crown helps in restoring the tooth to a functional and structural state when the tooth gets fractured or is severely worn out.
- Covering the tooth after a root canal: Since a tooth could be brittle after a root canal treatment, placing a crown helps in protecting it from further damage.
- Improving the cosmetic appearance of a discolored/malformed tooth – Crowns can be used to improve the cosmetic look of a misshapen tooth or one which might have become badly discolored.
- Support a dental bridge: Crowns can be used as anchors for dental bridges that are designed to fill the gap when one or more teeth become missing.
Step-by-Step Process of Preparing a Tooth for a Crown
Step 1: Initial Consultation and X-rays when Preparing a Tooth for a Crown
The dentist will first of all consult with a view of ascertaining whether the crown is the ideal procedure. Your dentist may X-ray the tooth and the underlying bone for the roots. The dentist does X-Rays to determine if there’s any infection or other damage that could impact the success of the crown. This way, you are sure to deal with any outstanding problems before fixing the crown.
Step 2: Numbing the Tooth
Once that is decided and determined, the next course of action involves numbing the tooth and the gum tissues around it. A local anesthetic is given to make sure comfort during the procedure. Numbing of a tooth is one of the most important preparatory modes for a tooth to be fitted with a crown. It is because there is a partial removal of its structure.
Step 3: Removing Damaged or Decayed Areas
The dentist will remove any decay or damage around the tooth before placing a cap over a crown. The dentist will remove any portions of the tooth that have decay. They use specialized tools to clean out the tooth, making sure that the remaining structure is healthy and strong enough to support the crown.
Step 4: Shaping the Tooth
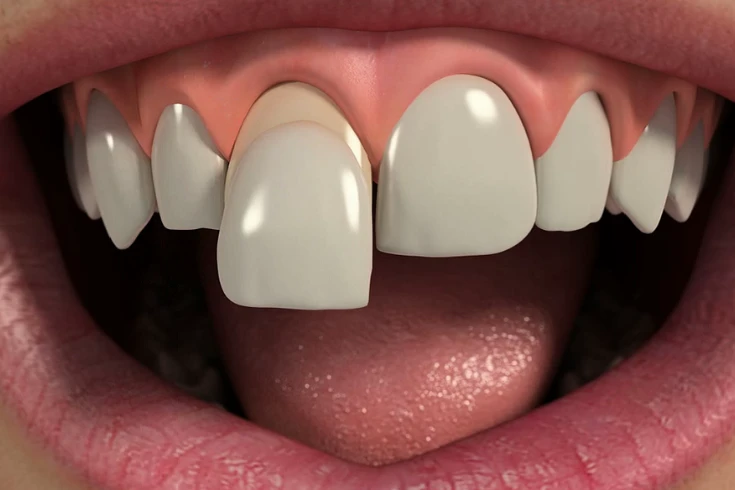
The preparation for a crown primarily entails shaping the tooth in a form that allows the crown enough room to fit over the tooth. The dentist will have to remove a small portion of the outer enamel and sometimes even the dentin-that layer beneath the enamel-so that the size of the tooth can be reduced. The amount of tooth structure removed is related to the type of crown used. For instance, all-metal crowns require very little when compared to crowns made of porcelain.
This reduction is essential because the crown should fit well over the tooth as well as align with the adjacent teeth. Much of the tooth structure may lead to an ill-fitting of the crown, whereas much less could result in bulkiness in the appearance of the crown.
Step 5: Impressions of the Tooth when preparing a tooth for a crown
After the shaping, the dentist will take impressions. This is one of the most important parts in the preparation of the tooth for the crown. This impression will serve as a guide in making a perfectly fitting crown. The dentist will take impressions with the help of a traditional method using dental putty or even by digital scanners. In either case, an accurate mold of the prepared tooth and the surrounding teeth is made to fit seamlessly.
Along with the prepared tooth, the dentist will take impressions of the opposing teeth as well. This is for ascertaining that the crown would fit when you bite down.
Step 6: Placement of a Temporary Crown
These days, while one awaits the permanent crown, the dentist will place a temporary crown over the prepared tooth. The placing of a temporary crown over the prepared tooth serves a couple of purposes:
Tooth protection: It protects the prepared tooth from bacteria and food particles, sensitivity.
Maintaining function: The temporary crown allows you to chew and speak normally.
Preserving aesthetic: It maintains the look of your smile until a permanent crown is prepared.
Temporary crowns are usually made of acrylic and much more fragile than permanent crowns, so hard and sticky foods should be avoided that may dislodge or damage them.
Step 7: The Waiting Period when preparing a tooth for a crown
Permanent crown development normally takes 1 to 2 weeks. Your dental impressions are sent to a laboratory while your skilled technicians develop your crown. Following the care instructions given by your dentist during this wait is very important as it supports your temporary crown, preventing complications.
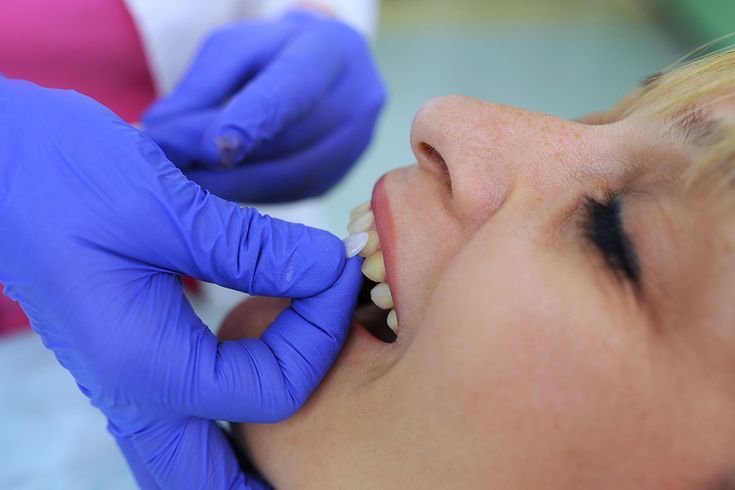
Step 8: Fitting and Cementing of the Permanent Crown
Once your permanent crown has been fabricated, you will return to the dental office for the final step in preparing a tooth for a crown-fitting and cementing the crown. During this procedure:
- The dentist will remove the temporary crown.
- The dentist will fit the permanent crown over the prepared tooth and check for appropriate fit, shape, and color.
- The dentist will make adjustments at this time so that your crown feels comfortable in your mouth.
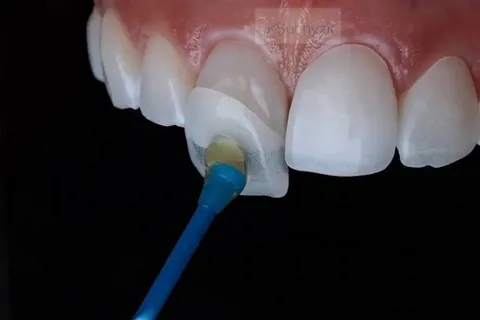
- Once he feels it fits, he will cement the crown into place with a strong bonding agent.
Once the crown is cemented, the dentist will check your bite to ensure it is properly aligned. Minor adjustments may be necessary.
Common Materials Used for preparing a tooth for a Crown
While preparing a tooth for a crown, some material selection is necessary based on your needs. Some of the most common types of materials include:
- Porcelain-fused-to-metal: This combines strength of a metal with the esthetics of porcelain.
- All-ceramic or all-porcelain: Provide a very natural appearance and therefore are an excellent choice for front teeth.
- Metal crowns: The dentist usually makes them out of gold or some other alloy. These crowns are highly robust and more frequently used at the back teeth.
- Resin crowns: Most of them are less expensive; though, they usually wear out sooner than other types.
Caring for Your Crown
After the preparation of a tooth for a crown and placing, proper care is necessary for longevity. Here are tips that will help you keep your crown in great shape:
- Regular brushing and flossing: Good oral hygiene will help to prevent decay on the edges of the crown. Avoid hard foods: While the crowns are strong, hard foods such as ice or popcorn kernels can cause damage to them.
- Wear a nightguard: In case you grind your teeth while asleep, a night guard will prevent your crown from incurring any form of damage.
- Regular visits to your dentist: This is because regular dental check-ups will ensure that your crown is well and good. Also, your dentist will be in a position to identify any potential problems that can arise.
What to Expect After Dental Crown Placement
Immediately after the procedure of preparing a tooth for a crown and placing it, you may feel a little discomfort or sensitivity, especially in cases when your tooth was very decayed or damaged. Normally, this should disappear in a few days’ time. In cases of continuous pain or sensitivity, you should see your dentist to eliminate any further complications.
Conclusion
The steps in preparing a tooth for a crown involve many steps, requiring a great deal of precision and detail. Each step, from initial consultation to final placement, is important for the long-term success of the restoration. By understanding the process and following your dentist’s instructions for care, you can enjoy the benefits of a well-fitting and aesthetically pleasing crown for many years.
FAQ’s
What is a dental crown?
A dental crown is a tooth-shaped cap placed over a damaged or decayed tooth to restore its shape, size, strength, and improve its appearance. The dentist makes crowns from materials like porcelain, metal, resin, and ceramic.
How long does a crown last?
With proper care, dental crowns can last between 5 to 15 years, depending on the material and how well you maintain your oral hygiene.
What should I expect after the crown placement?
After the crown placement, you might experience minor discomfort or sensitivity, especially if the tooth was significantly decayed or damaged. This should subside within a few days. If pain persists, contact your dentist.
What is the purpose of a temporary crown?
A temporary crown protects the prepared tooth from bacteria and sensitivity, maintains function, and preserves the aesthetics of your smile while you wait for the permanent crown to be made.
Can I eat normally after getting a crown?
Yes, you can eat normally, but it’s advisable to avoid hard and sticky foods that could damage the crown, particularly the temporary one.
What happens if my crown doesn’t fit properly?
If your crown doesn’t fit properly, your dentist will adjust it for comfort and functionality before cementing it permanently. Proper fit is essential for a good bite and overall dental health.

